
How to create a virtual classroom session
How to create a virtual classroom session
Brightspace allows instructors to create synchronous online sessions using the virtual classroom tool. This tutorial will show you how to create a virtual classroom session for your students.
1. To create a virtual classroom session in your course: first, choose OR create a module for the virtual classroom session to be located within in your course.
2. Next, click on the “existing activities”
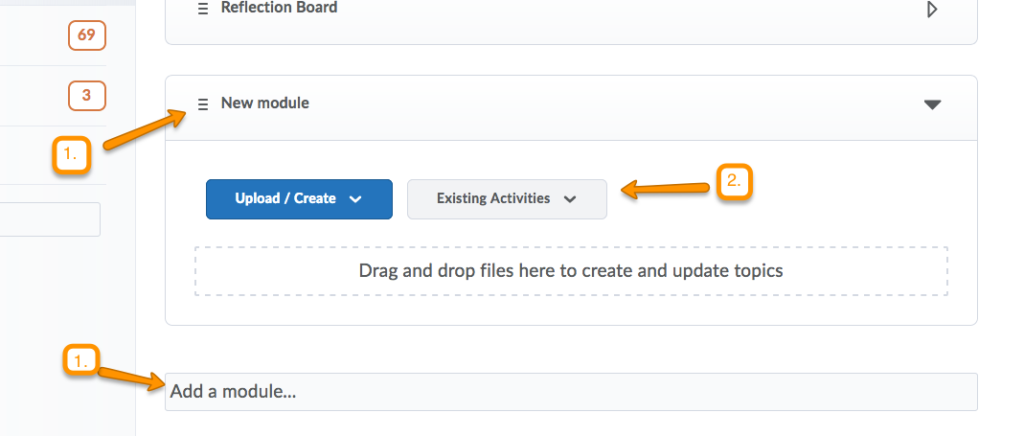
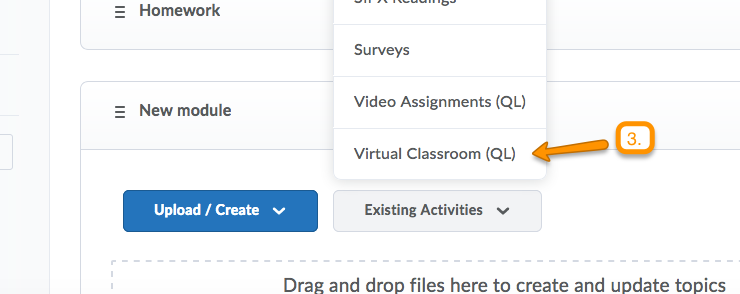
3. Then, choose “Virtual Classroom” from the drop-down menu.
4. A new box will appear. Click the button to “Schedule meeting”.

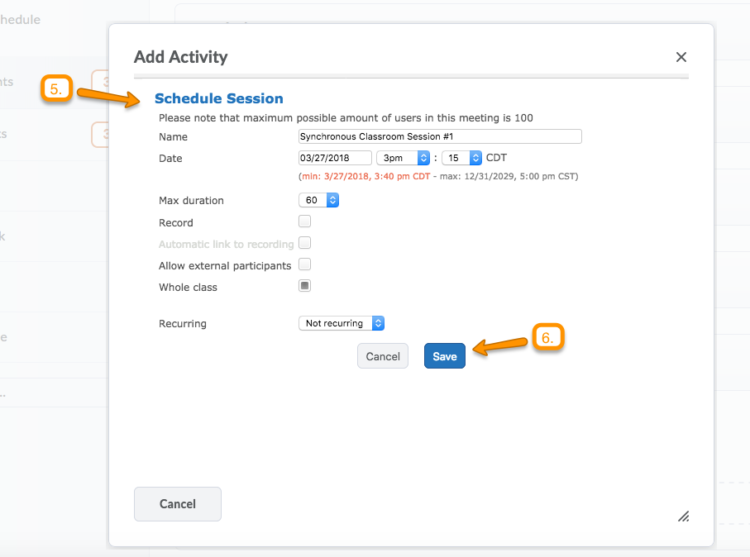
5. In the new window, specify the details of your virtual meeting. You have the ability to include/modify the following:
-
Name – You must give the class meeting a name
-
Date/time – Be sure to check that your Brightspace account is set to the correct time zone. The default is EST.
-
Duration – Brightspace limits the virtual classroom sessions to a maximum of 90 minutes. If you need more time, you must create two separate meeting rooms.
-
Record – By clicking this box, your session will automatically be recorded and a link to that recording will become available here a few hours after the session has concluded.
-
Allow external participants – By clicking this box, you will be provided a link to the session that you can share with participants outside of your course. This option is most often used if you plan to have a guest speaker join your class session.
-
Whole Class – choose this option if you are planning to have a single synchronous meeting for the entire class. Uncheck this box if you’d rather set up multiple synchronous sessions at once so that your students can meet together in small groups. For the latter option, you will need to send each group a link to their session.
-
Reoccurring – Here, you can choose to create a single virtual class meeting or set up reoccurring meetings throughout the duration of your class.
6. Once you have specified the details of your virtual meeting, click “Save”.
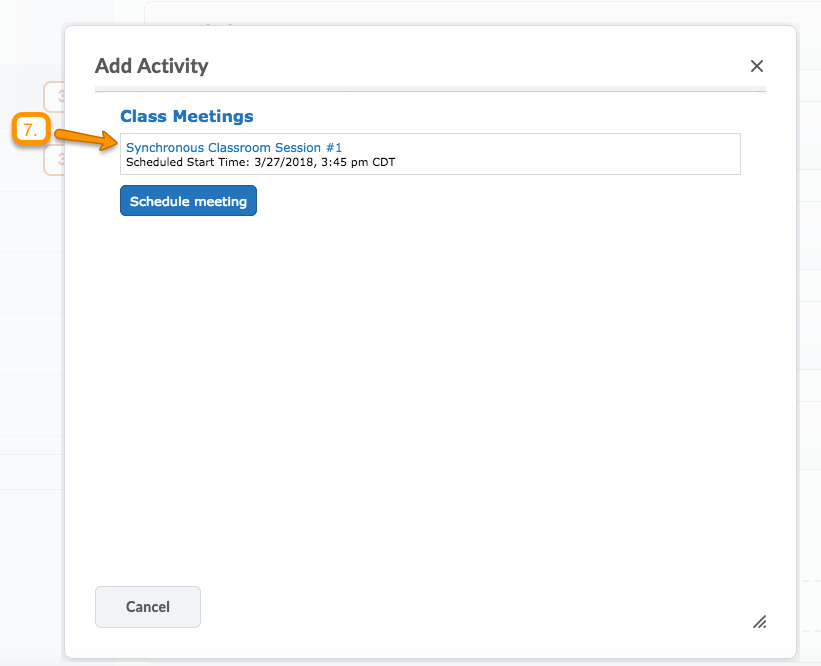
7. On the next page, you will see your new session listed under “Class Meetings”. To insert this meeting into your course: click on the name of this session before exiting this window.
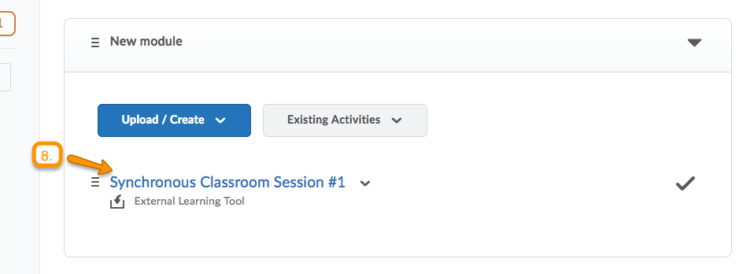
8. Now, your new session should appear within your course module. When you (or your students) are ready to enter this virtual session, click on the name of this virtual session.
9. When it is time for your session to begin, click “Enter Meeting Room”.
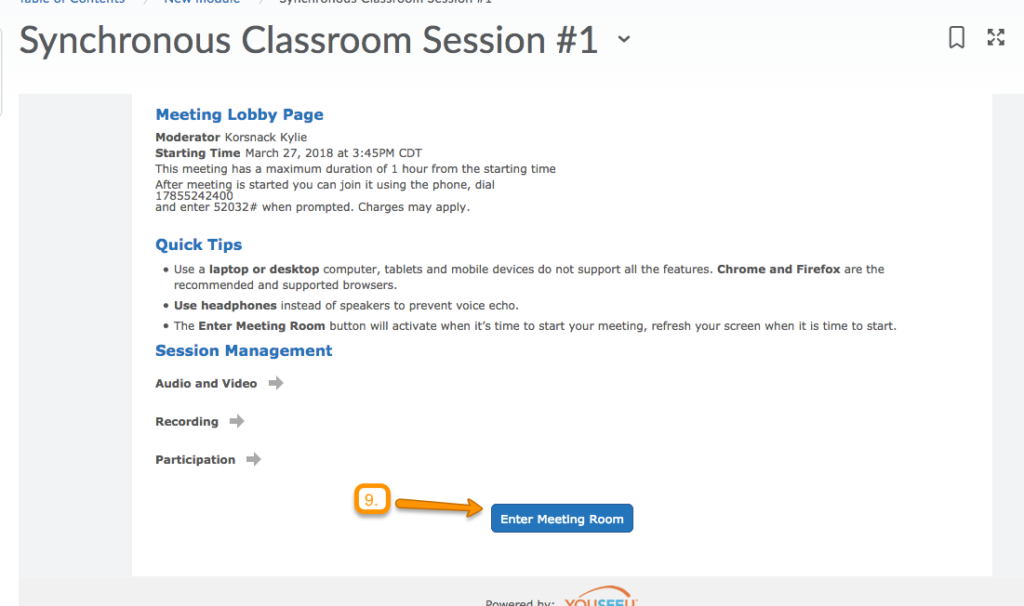
You have successfully created a virtual classroom session! All of your students should be able to enter this virtual classroom or “meeting space” by clicking the same blue button (“Enter Meeting Room“) on their Brightspace Module.